As an Amazon Associate we earn from qualifying purchases.
Put the iron back on the shelf. Now you can easily steam wrinkles out of clothes and refresh them in half the time that it takes to iron. Handheld and upright steamers have become a common household staple. They not only reduce wrinkles, but are also used as a way to stretch the time between cleaning and dry cleaning your clothes.
What is a Clothes Steamer
Like a clothes iron, a clothes steamer is meant to get wrinkles out of your clothes. When you use a clothes iron, you are using a heated metal plate to press down and smooth away wrinkles.
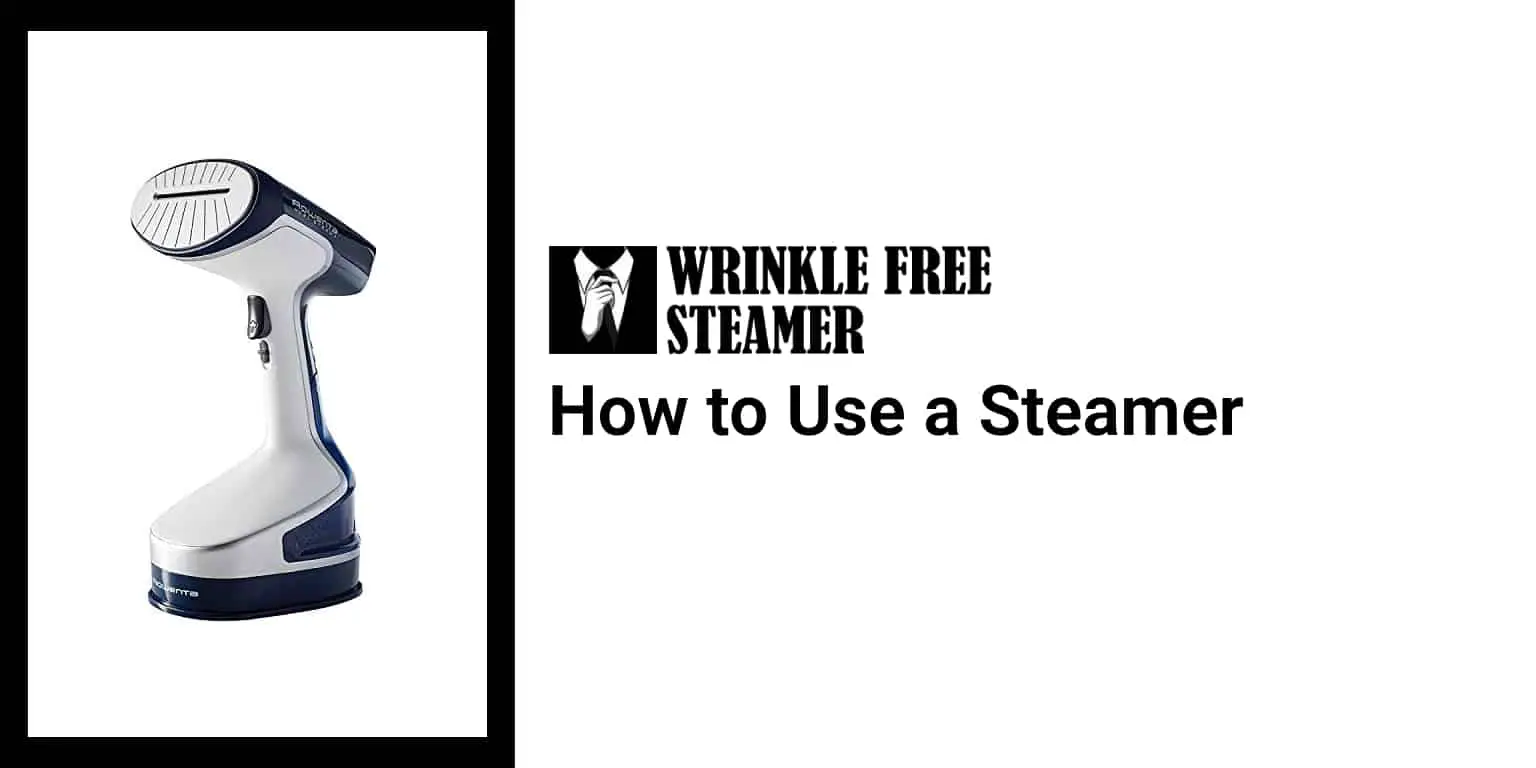
A steamer is a machine with a handheld wand that sort of looks like a vacuum attachment on a long hose. Steam will be created from the body of the machine and funneled up to the handheld steamer.
It is not difficult to learn how to use a steamer. Instead of laying down and pressing clothes, you will hang up your clothes. There is no contact involved in the steaming process. You simply run the steamer up and down your clothes.
The hot steam with the gravity from being hung up will get the shirt to release wrinkles. This process is just as effective as ironing and can cut down your ironing time drastically.
However, don’t throw your iron into the garbage just yet. While a steamer will get rid of wrinkles, it will not give your dress shirts that crisp feeling. Steamers are also unable to give your shirts and pants a crease like irons are.
Steamers are ideal for more delicate and difficult to iron fabrics like silk, cashmere, suits, sweaters, and t-shirts.
Do Steamers Clean?
If you want to clean with steam, then a steamer can be an option for you. While a steam cleaner is not a recommended way to clean your clothes, it can lengthen the time between cleaning or dry cleaning your garments.
When you steam your clothes, you are not just eliminating wrinkles. You are also getting more benefits out of the steam as it penetrates into the fibers of your clothes.
The steam gets rid of odors in your clothes, especially in the underarm areas. This is because the steam kills and eliminates odor causing bacteria.
It also removes allergens in the fibers of your clothing. These allergens are what attracts dust mites while the clothes hang in the closet or are tucked away in a drawer.
Steam can also refresh your clothes between washes. This allows you to wear them a few times before having to launder delicate fabrics or take garments to the dry cleaner.
Another great use for a steamer is to use it to refresh items that cannot be washed, such as drapes, upholstery, mattresses, carpets, and bedding. You can use a hand held or a stand-up machine when you learn how to steam home furnishings.
Types of Steamers
Steam cleaners are no longer dry cleaner only products. Innovation has made them more affordable and even smaller for ease of traveling. Before you learn how to use a steamer, you should find the type of steamer that will fit your needs.
There are two types of steamers that are affordable options to add to your home. Let’s take a look at the differences between the two to help you find the best fit.
Portable Steamer
[easyazon_image align=”center” height=”500″ identifier=”B0779PJX93″ locale=”US” src=”https://wrinklefreesteamer.com/wp-content/uploads/2018/02/31Z2aCmNTQL.jpg” tag=”wfsteamer08-20″ width=”500″]
A portable steamer is primarily a smaller and handheld steamer. These are a must have for traveling. Most portable steamers have quick warm up times and put out a limited timed amount of steam.
This is a great option if you are traveling and need to touch up a few items. It can also be a good choice for people who need to remove wrinkles but don’t have a lot to use it on.
The [easyazon_link identifier=”B0779PJX93″ locale=”US” tag=”wfsteamer08-20″]Lemontec Portable Travel Garment Steamer[/easyazon_link] is a great choice if you are looking for a portable steamer. It heats up in 70 seconds and has a high-powered steaming runtime of nine minutes.
Full-size Steamer
If you are swimming in a pile of clothing that needs to be ironed, then you may want to switch to a steamer to cut down on your ironing time. For large steaming demands, a full-size steamer is a great fit.
These appliances are about the size of a vacuum and resemble them in body shape. The Rowenta Master Valet Steamer has a tall body that allows you to hang shirts from the top or hang them on the built-in garment rack.
It has an 81 ounce water tank that allows it to offer an hour of continuous high powered steam. It also features a fabric brush, lint pad, and steam bonnet.
Full size steamers, or upright steamers can also come with attachments. If you want to be able to make some creases, then you will want the attachments. There is a creasing attachment that allows you to feed the fabric through the steamer clip on, allowing you to make creases in your pants or pleated skirts.
Other attachments include a hand pad that will allow you to steam collars, a lint pad that will pull off lint, and a fabric brush.
Items you can Steam
By and large, you can steam most clothing. While there are some items NOT to steam (see below), here is a quick list of garments that you can steam. As always, you should double check on the tag of the specific item
- Cotton Shirts
- Wool and Cashmere Sweaters
- Polyester
- Silk Scarfs and Ties
- Undergarments (underwear, bra, etc)
Items you should not Steam
For most fabrics, a steamer is a great investment. However, there are some fabrics and materials that you should avoid using steam on.
Suit makers urge you not to steam clean custom suits. This is because most suits are not just straight fabric. They have been pressed and molded to fit.
For suit jackets, they should be pressed to retain their shape. The steam loosens the fibers, relaxing them, and allowing the suit jacket to lose its crisp and molded shape.
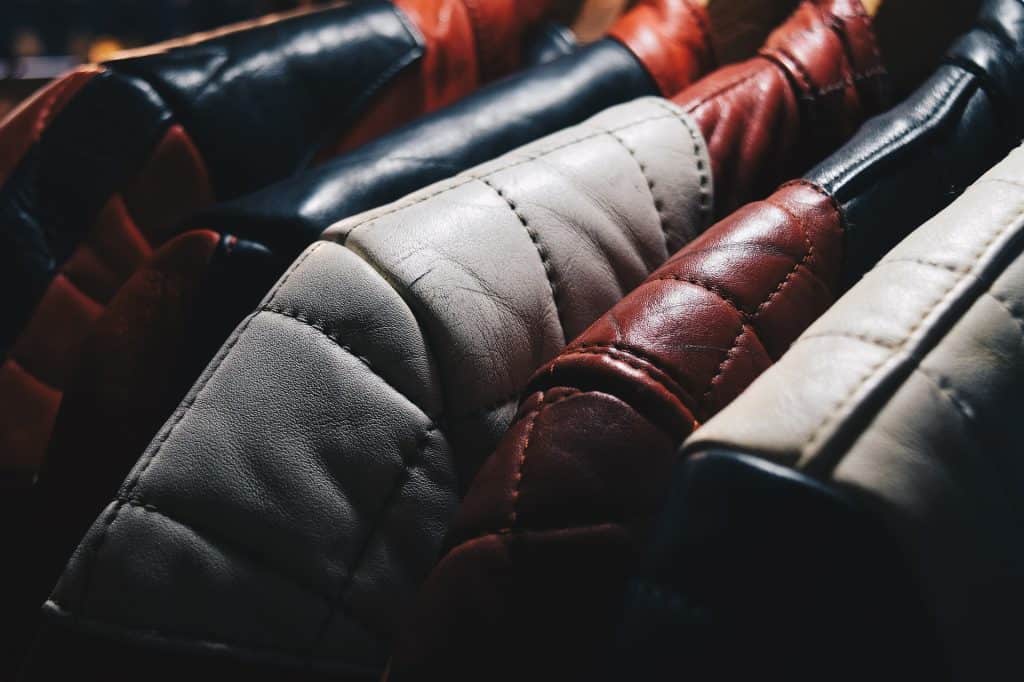
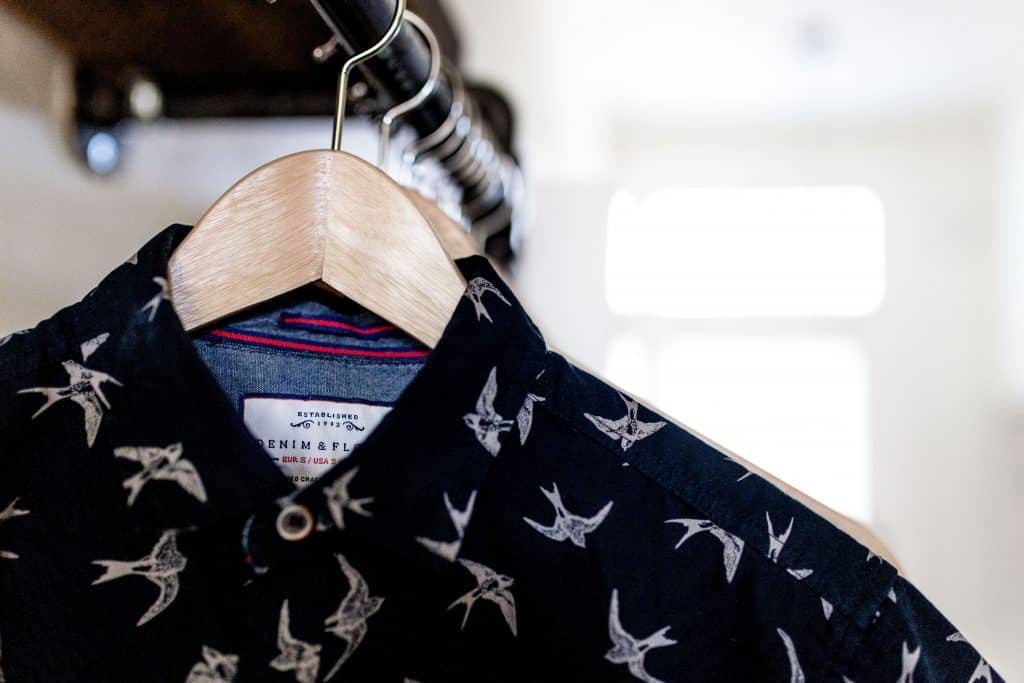
Waxed jackets, leathers, and suede materials should not be steamed either, since the hot water can penetrate and warp these fabrics. Also, be mindful of steaming any plastics or shirts with decals and designs on them.
The steam can melt the plastic or disturb the design. For garments you need to steam that have a graphic, steam them from the inside to avoid placing the hot steam directly on the graphic. For suit jackets, you can opt to iron them instead.
If you are unsure about a fabric, then steam a small corner of the fabric to make sure it does not react badly to the steam.
Finally, check the fabric care label inside the shirt to see if it warns against steaming.
Before you Start Steaming
Most steamers will have a period of time they are able to run before you have to fill up the water tank. If you are steaming a lot of items, get your items together and make your own assembly line.
This will allow you to pull items, steam them, and put them back on a rack to dry. Yes, your clothes will need to hang separated because steaming them will leave them damp. A laundry room drying rack you can put hangers on is a good tool to use. Or, you can use your shower curtain rod in the bathroom.
Also, be aware of your body stance when you are learning how to use a clothes steamer. This is important if you have a steamer with an attached hose.
The hose is how the hot steam flows up from the water reservoir and out of the handheld attachment. In order for the machine to perform at its very best, you will need to keep the hose straight and free from being wrapped around anything, like the steamer’s body no matter what brand it is, even if it’s a Rowenta steamer.
How to Fill and Clean the Steamer
Make sure you use a filtered water or purchase distilled water. This will keep your steamer from getting a mineral buildup.
When a mineral buildup occurs, it lowers the rate your steamer is able to put out. This will make it harder to steam your clothes at a fast and efficient rate.
If you do get a mineral buildup in your steamer, you will need to clean it. The best way to descale a clothes steam cleaner is to use a homemade solution that is one-part vinegar and two parts water.
Do not try to add any essential oils to the mix, as this can leave residue that will transfer to and ruin your clothes. The simple water and white vinegar mixture is all that you will need to get rid of the mineral buildup.
Once you have the solution in, start up your steam cleaner and watch it. When it gets to the point that it all warmed up and is putting out its normal amount of steam, turn it off and let it sit.
Let the vinegar sit in the unit for thirty minutes. Pour out the mixture and repeat the steaming process with another vinegar and water solution. Monitor your steamer’s output to see when it gets back to the usual rate of steam.
When the steamer is producing steam at its normal rate, you can empty the reservoir of the cleaning solution and run it with clean water. Let the steamer run until about half of the water has been used. Finish by dumping out the water and leaving the water reservoir open so the unit can air dry.
It is a good idea to routinely clean your steamer once every few months, just to keep it in tip top condition.
Still unsure what clothes steamer is right for you? Check our our comprehensive buying guide and let us help you pick out the best one in the market.
How to Use a Steamer
When you are ready to start steaming, turn your steamer on. Let the water warm up. You will see vapors start to come out. Let the steamer run for a few moments to make sure the water vapor is hot and that the steamer is all coughed out.
When you finish using a steamer, sometimes extra water droplets get caught in the neck and nozzle. This will make the steamer cough while it is warming up. If you hold the steamer to your clothes while it is still clearing, then there is a chance you can get excess water droplets on your clothes.
Once the steamer is all heated and the steam is free flowing, it is now time to begin steaming your garments.
How do you Use a Steamer
Unlike an iron, when you use a steamer, you do not press it against your clothes. This will trap the steam and not allow it to work on your garments. You also do not want to hold it away from the clothes without touching, because this will not heat up the fabric.
Instead, you will press the top tip of the garment steamer against your clothes and then angle the bottom out, so the steam can escape. This will also keep the steam close enough to your clothes, so the steam is concentrated against your clothes and will eliminate wrinkles.
You will be using both of your hands while steaming. Your dominant hand will hold the steamer, while your other hand holds the bottom of the garment. This will keep the fabric pulled tight in each area that you are working in.
It can feel a little awkward at first, but as you continue to work with the steamer you will get the right stance and your hands will coordinate better. Practice makes perfect. Go slow at first and make sure you are focused on executing it right instead of worrying about going fast.
Steam will not burn your clothes. At worst it will just make them a little damper than normal. If that happens, let it hang up to dry. If it wrinkles, you can try to steam it again or switch to an iron and press it.
How to Steam a Shirt

If you need to press the collar, you can do so with the steamer. Some steamers will come with a hand pad attachment. If yours doesn’t, lay the shirt on a hard, flat surface. Do not use an uncovered wood surface.
Press the tip of the steamer to the collar and run it across once or twice before flipping and doing the opposite side. You can also do this with the cuffs. It is best to do these two areas first and then hang your shirt to continue steaming it.
Similar to how you would iron a shirt, when you steam a shirt you will start with the sleeves. Make sure that the shirt is hanging straight on the rack before you begin.
Start by steaming the front of the sleeves, going from the top to the bottom while holding the sleeve tight with the other hand. Finish the front and work the back of the sleeve. Repeat the same process for the other sleeve.
For the body of the shirt, start in the front on one side and steam from the top to the bottom. Be careful around the buttons. Don’t press the steamer down over them. Work around to the back of the shirt.
How to Steam a Pair of Pants

To steam a pair of pants or a skirt, you will first need to hang them on racks that have the trouser clips. Some steam cleaners will have a built-in rack with the trouser clips on it, like the Conair steamers.
If you need to steam the waist band, use the same trick you did for shirt collars. Place the waist band on a hard surface and press the tip of the steamer against it. Since waistbands are normally thick, steam the outside and the inside of the band.
When you are ready to steam the rest, hang them and begin to steam them from the top to the bottom. Pull the pants legs out and stretch them as you steam. Be mindful to only stretch them up and down, not side to side as this will ruin the shape of your pants.
For a skirt you will do the same, stretching the skirt down as you steam. You can steam pleats as well. Pleats can be a bit tricky the first few times. If you have the creasing attachment with your steamer, you can steam and crease pleats.
How to Steam Garments that are Delicate
For delicate garments, test a small area on the side to make sure it will not affect the fabric. If the garment has a design or decal on the front, steam it from the inside. Try to keep the inside under the decal light. Don’t spend too much time on it so you don’t overheat the graphic.
If you are dealing with multiple layered fabrics, like a dress, or a thick fabric like a suit, steam it one layer at a time. Use clips to hold back each layer.
You should steam the proper way, by keeping the tip of the steamer on the clothing. If you are nervous around finer fabrics, hold the steamer off the clothing. This will lightly steam it.
Conclusion
Now that you know how to steam clean clothes yourself, you can tackle wrinkles with ease and no longer worry about ironing when you travel. Knowing how to use a steamer is a great way for you to shake up your ironing routine.

