
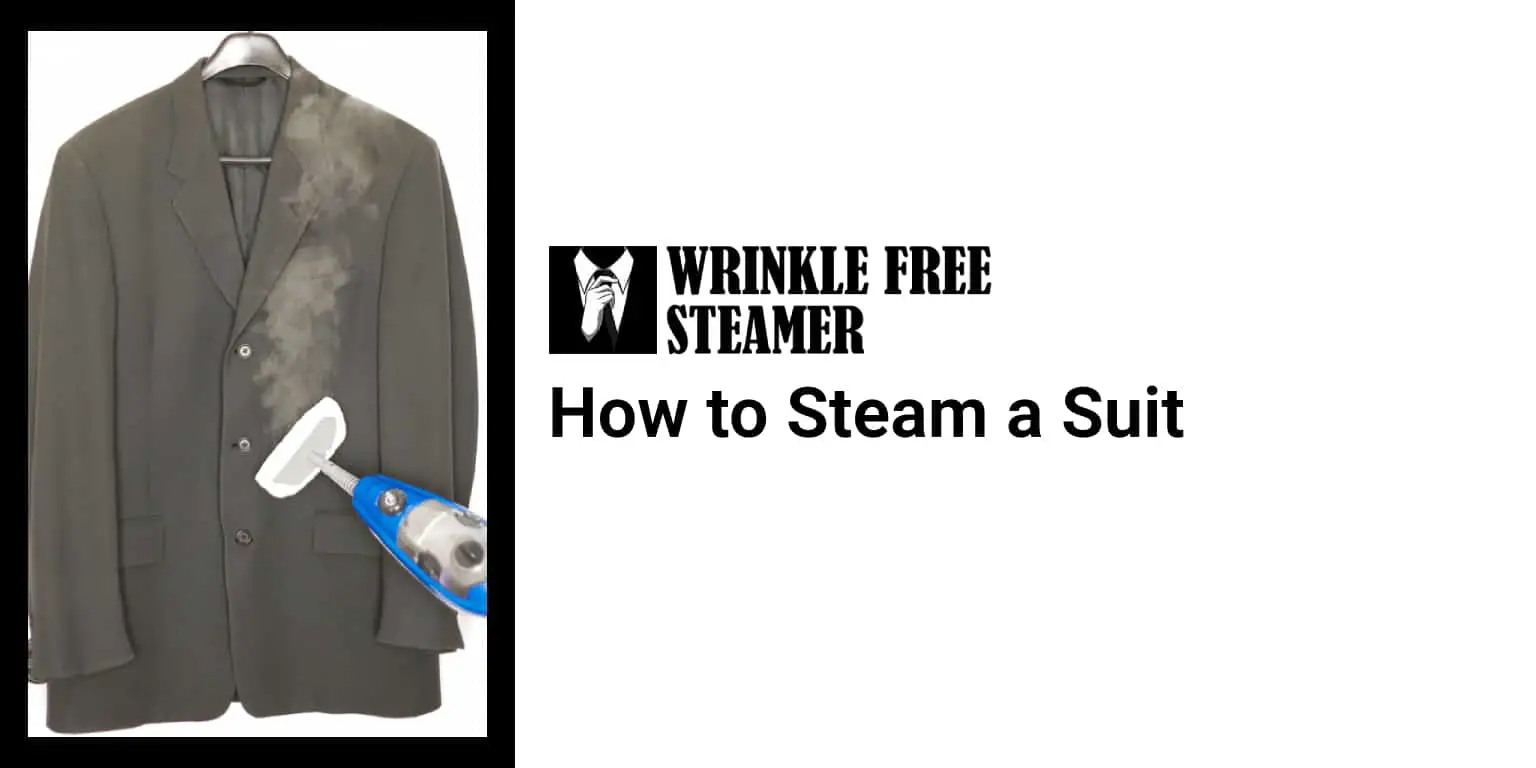
How to Steam a Suit Without Damaging It (Updated 2026)
A current, care-label-first process for safer, more consistent garment care.
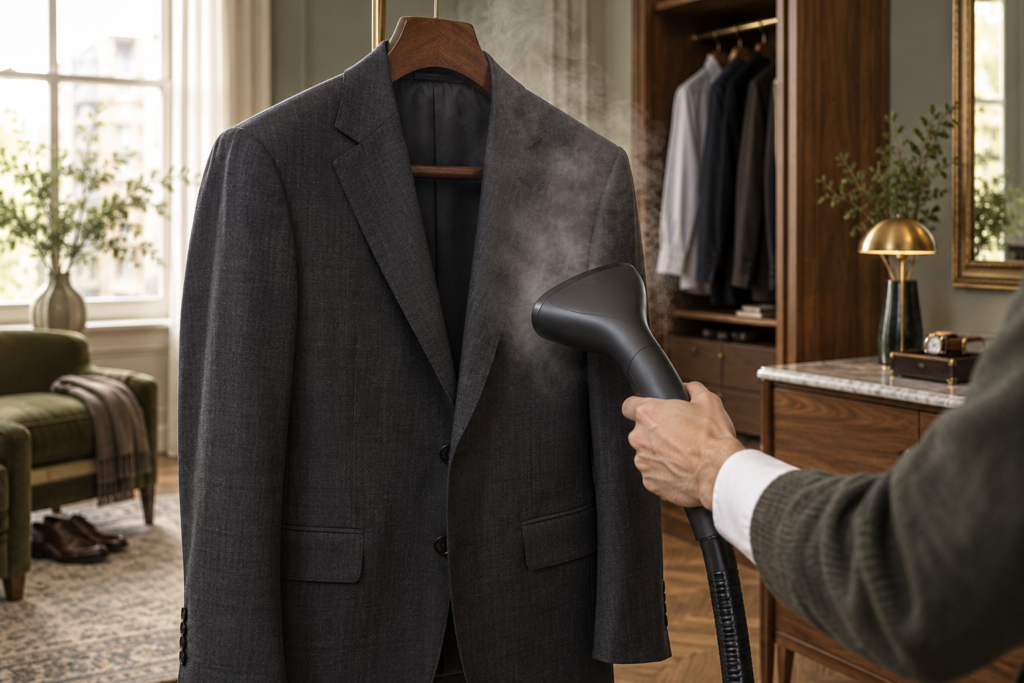
A current, label-first approach
How to Steam a Suit Without Damaging It (Updated 2026) works best when the process begins with the garment or surface instructions rather than a universal temperature or shortcut. Read every care symbol, identify trim and lining, and test a hidden area. The appliance manual controls water type, operating position, attachments and cleaning method.
Prepare a bright, uncluttered work area before heat or moisture is involved. Keep children and pets away, route the cord outside the walking path, and decide where the hot appliance will rest and cool. Never steam clothes while they are worn, point steam toward skin or leave a plugged-in appliance unattended.
Start with the jacket label and construction
A suit is more than its outer cloth. Canvas, fusible interfacing, shoulder structure and lining can react differently to moisture. Read the care label and use professional cleaning when it requires it. Test an inside hem before steaming a valuable jacket.
Work slowly enough to notice how the material responds. Change only one variable at a time, such as heat, steam output, distance or pressure. Let the area cool before judging it, because warm fabric can look smoother than it will after resting.
Hang the jacket in shape
Use a broad shoulder hanger and empty the pockets. Brush off surface dust first. Close one button to align the front, then release it if the fabric pulls. Work in moving air with room around the sleeves and back.
Work slowly enough to notice how the material responds. Change only one variable at a time, such as heat, steam output, distance or pressure. Let the area cool before judging it, because warm fabric can look smoother than it will after resting.
Steam in sections
Begin at the back, then move to sleeves and front panels. Keep the head outside the jacket and avoid saturating lapels, chest pieces and glued structure. Let gravity relax wrinkles and use only gentle tension at hems and cuffs.
Work slowly enough to notice how the material responds. Change only one variable at a time, such as heat, steam output, distance or pressure. Let the area cool before judging it, because warm fabric can look smoother than it will after resting.
Treat trousers separately
Hang trousers by the waistband or cuffs according to the desired line. Steam wrinkles with the legs aligned. A steamer softens fabric but does not create a sharp crease as reliably as an iron and pressing cloth. Allow both pieces to dry fully before wearing.
Work slowly enough to notice how the material responds. Change only one variable at a time, such as heat, steam output, distance or pressure. Let the area cool before judging it, because warm fabric can look smoother than it will after resting.
Make the process repeatable
Keep a small note of the fiber, setting, working distance and number of passes that produced a good result. That record is more reliable than memory when the same garment returns months later. Photograph an unusual care label and store the model manual with the appliance. If several people share the tool, label accessories so a brush or tank is not forced onto the wrong model.
Inspect the finished piece only after it has cooled and dried. Heat and moisture can temporarily hide ripples, shine or damp spots. Check seams, lining, prints and decorations in normal room light. Stop when the item is presentable rather than adding repeated heat in pursuit of a perfectly flat surface that the fabric was not designed to hold.
Clean, cool and store safely
Unplug by the plug, not the cord, and let the appliance cool on the surface its manual specifies. Empty the reservoir when directed and allow removable pieces to dry before reassembly. Keep cords loose, hoses free of sharp bends and soleplates protected from scratches. Do not store a warm appliance in a closet or suitcase.
Scale, lint and residue can change steam flow over time. Follow the exact maintenance interval and method for the model. Avoid improvised vinegar, fragrance or cleaning mixtures unless the manufacturer explicitly approves them. Stop using any appliance with a damaged cord, persistent leak, cracked tank or behavior that differs from the manual, and contact the maker for service guidance.
Use the care label as a stop sign
A crossed-out iron, crossed-out wash symbol or dry-clean-only direction changes the plan immediately. The outer fabric is only one part of a garment; interfacing, lining, coatings, prints and adhesive can have lower limits. When the label is missing or unclear, test the least visible area with the lowest practical heat and moisture, or use a professional cleaner for a valuable item.
Do not treat colorfastness, heat tolerance and water tolerance as the same property. A fabric can keep its color while shrinking, shining or losing shape. Conservative testing protects the garment and produces advice that can be repeated instead of relying on a lucky first result.
Plan the entire workflow
Setup, cooling and storage are part of the job. Place hangers, pressing cloths and a clean towel within reach before switching on an appliance. Work on one garment at a time so a hot tool is never balanced while the next item is prepared. Keep finished pieces apart from damp laundry and give them room to cool.
For travel, confirm voltage and plug compatibility before leaving home, drain every reservoir and protect hot surfaces after they are fully cool. For household storage, choose a dry shelf where tanks, cords and hoses will not be crushed. A convenient, safe setup makes good garment care easier to repeat.
Know when to stop
Stop immediately if the material changes shine, texture, color or shape, or if the appliance leaks, spits repeatedly or smells electrical. Unplug it and let it cool before inspection. More heat rarely corrects a problem caused by too much heat. Valuable tailoring, vintage fabric, leather, suede and complicated decoration deserve specialist advice when the label is uncertain.
A practical result preserves the item while reducing visible wrinkles or improving organization. It does not require forcing every fabric into the same crisp finish. Texture and drape are design features, and protecting them is part of good care.
Review the result before the next item
Pause between garments or surfaces and check the work area as well as the material. Wipe away stray water, return accessories to a safe place and make sure the cord has not shifted into a walkway. A brief reset prevents the hurried handling that causes most avoidable burns, drops and fabric damage.
Note anything that should change next time: a lower setting, more working distance, a wider fold or a different support. Repeat the method only after the material has fully cooled and dried. If the care label and the observed result disagree, trust the more conservative limit and seek guidance from the garment maker, appliance manufacturer or a qualified cleaner.
Editorial note: Product links, where relevant, use the site-specific Associate code wfsteamer08-20. Editorial body word count: 1148.