
Garment Steamer vs. Iron: Which Tool Fits the Job? (Updated 2026)
A current, care-label-first process designed for real garment-care decisions.
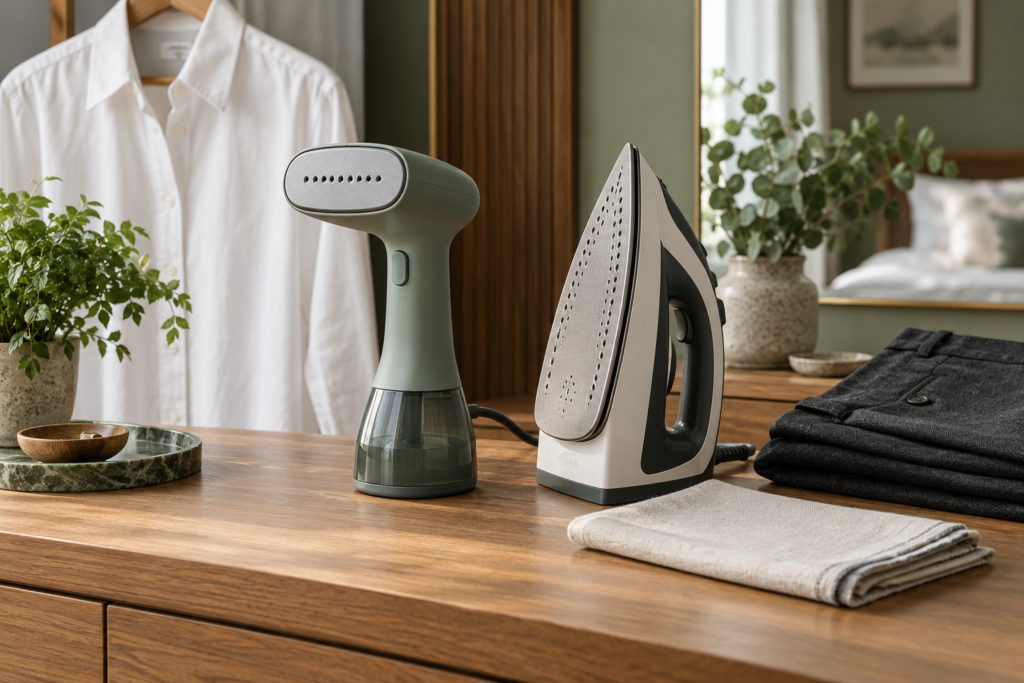
A practical approach for 2026
This guide replaces the short original article with a current, care-label-first process. A garment steamer can be useful, but it is not a universal cleaning tool and it cannot make every fabric safe for heat. The appliance manual and garment label set the boundaries.
Work in a clear area, use a stable hanger or board, keep skin away from the steam path and test an inside seam. Add only water or an approved product to the reservoir. If the unit behaves differently from its manual, stop and let it cool before inspection.
Choose steam for shape and drape
A steamer works vertically and can move around gathers, ruffles, shoulders and hanging curtains. It is often convenient for touch-ups and delicate construction because it uses moisture and heat without the full pressure of a soleplate.
Make one change at a time and inspect the result after the fabric has cooled. That prevents extra heat or moisture from hiding the cause of a problem and makes a successful routine repeatable.
Choose an iron for precision
An iron presses fabric against a board. That pressure helps create sharp cuffs, collars, hems and trouser creases. Temperature selection matters because excess heat can shine, scorch or melt sensitive fibers.
Make one change at a time and inspect the result after the fabric has cooled. That prevents extra heat or moisture from hiding the cause of a problem and makes a successful routine repeatable.
Compare setup and storage
A handheld steamer starts with a hanger and nearby outlet; an upright needs floor space. An iron adds a heat-safe board but may finish structured details faster. Count the whole routine rather than the heat-up time alone.
Make one change at a time and inspect the result after the fabric has cooled. That prevents extra heat or moisture from hiding the cause of a problem and makes a successful routine repeatable.
Results depend on fabric
Linen and heavy cotton may need pressure for a crisp finish. Polyester can respond quickly to modest steam but can also melt under excess heat. Velvet pile should not be flattened. The care label and hidden test decide the safe method.
Make one change at a time and inspect the result after the fabric has cooled. That prevents extra heat or moisture from hiding the cause of a problem and makes a successful routine repeatable.
Many homes benefit from both
The tools overlap without being identical. A modest iron can handle detail work while a steamer covers hanging garments and quick refreshes. Buy the missing capability rather than duplicating one tool’s strengths.
Make one change at a time and inspect the result after the fabric has cooled. That prevents extra heat or moisture from hiding the cause of a problem and makes a successful routine repeatable.
Build a routine you can repeat
Keep the manual with the appliance and note the water recommendation, cleaning interval and accessories that belong to the exact model. Before an important event or trip, test the full workflow on a familiar garment. Check the outlet, cord reach, hanger stability, refill process and cooling time.
Good garment care is usually conservative: confirm the label, begin low, inspect often and stop before fabric becomes saturated. Allow clothes and equipment to cool and dry, then store them where the cord, hose and tank will not be crushed.
Use heat and steam with care
Read the current manual before the first use because models differ in water type, operating angle, contact with fabric and descaling method. Never steam clothing while it is being worn, direct steam toward skin, or leave a plugged-in appliance unattended. Keep the cord away from walkways and water, and place the appliance only on the stable surface described by its maker.
The garment label remains the authority for the textile. Test an inside seam before treating silk, rayon, velvet, coated fabric, prints or glued decoration. Steam can relax ordinary wrinkles, but it does not replace laundering or professional cleaning. Let garments cool and dry before storage, empty the reservoir if instructed, and allow the appliance to cool fully before putting it away.
Record what works
A short garment-care note can save time later. Record the fabric, setting, working distance and number of passes that produced a good result. Photograph an unusual care label and keep the model manual with the appliance. If several people share the tool, this simple record reduces guesswork and discourages someone from copying a hotter setting onto a more sensitive garment.
Recheck the routine when the season, water supply or garment construction changes. A method that works on an unlined cotton shirt may be wrong for a lined dress or coated textile. Consistent results come from observing the fabric rather than forcing every item through the same process.
Plan for storage and maintenance
Let the appliance cool completely before emptying or storing it, and follow the manual rather than forcing open a warm tank. Keep the cord loosely arranged, protect a hose from sharp bends and store attachments with the model they fit. A dry, easy-to-reach storage place makes routine use more likely and helps reveal a leak or damaged part before the next session.
Set a calendar reminder for the cleaning interval recommended by the maker. Hard-water deposits, lint and residue can change steam flow over time, while aggressive homemade cleaners can damage seals or internal coatings. Use only the maintenance method approved for the exact model and replace an appliance when electrical damage or unsafe leaking cannot be corrected through documented service.
Use a pre-purchase checklist
Before buying or replacing a garment-care appliance, write down where it will be used, which fabrics appear most often, how many garments make up a normal session and where the hot appliance will cool. Confirm the exact model number on the manufacturer page and in the retailer listing. Check voltage, tank size, approved water type, operating position, included attachments, warranty contact and return window. If a feature is essential, verify it in the current manual instead of assuming that a similar photo means the same specification.
Also consider the full routine around the appliance. A larger tank may reduce refills but take more storage space. A light handheld can be convenient for one garment while feeling slow across several outfits. An upright system may support longer sessions but needs a stable footprint and room for its hose. The best choice is the one that fits the actual wardrobe, work area and maintenance habits, with documentation that remains available after purchase.
Check the result in normal light
Wrinkles, damp spots and shine can look different under a bright work lamp than they do near a window or in the room where the garment will be worn. After treatment, let the fabric rest, then inspect the front, seams, lining and decorations in ordinary light. If the result is uneven, adjust distance or technique on a hidden area before adding more heat. Stop when the fabric is presentable rather than continuing until it becomes overly warm or wet.
Editorial note: Product links use the site-specific Associate code wfsteamer08-20. Search-result links use the exact current model number so readers can confirm the selected variant and seller. Editorial body word count: 1174.