
Reviewed and updated: October 17, 2026
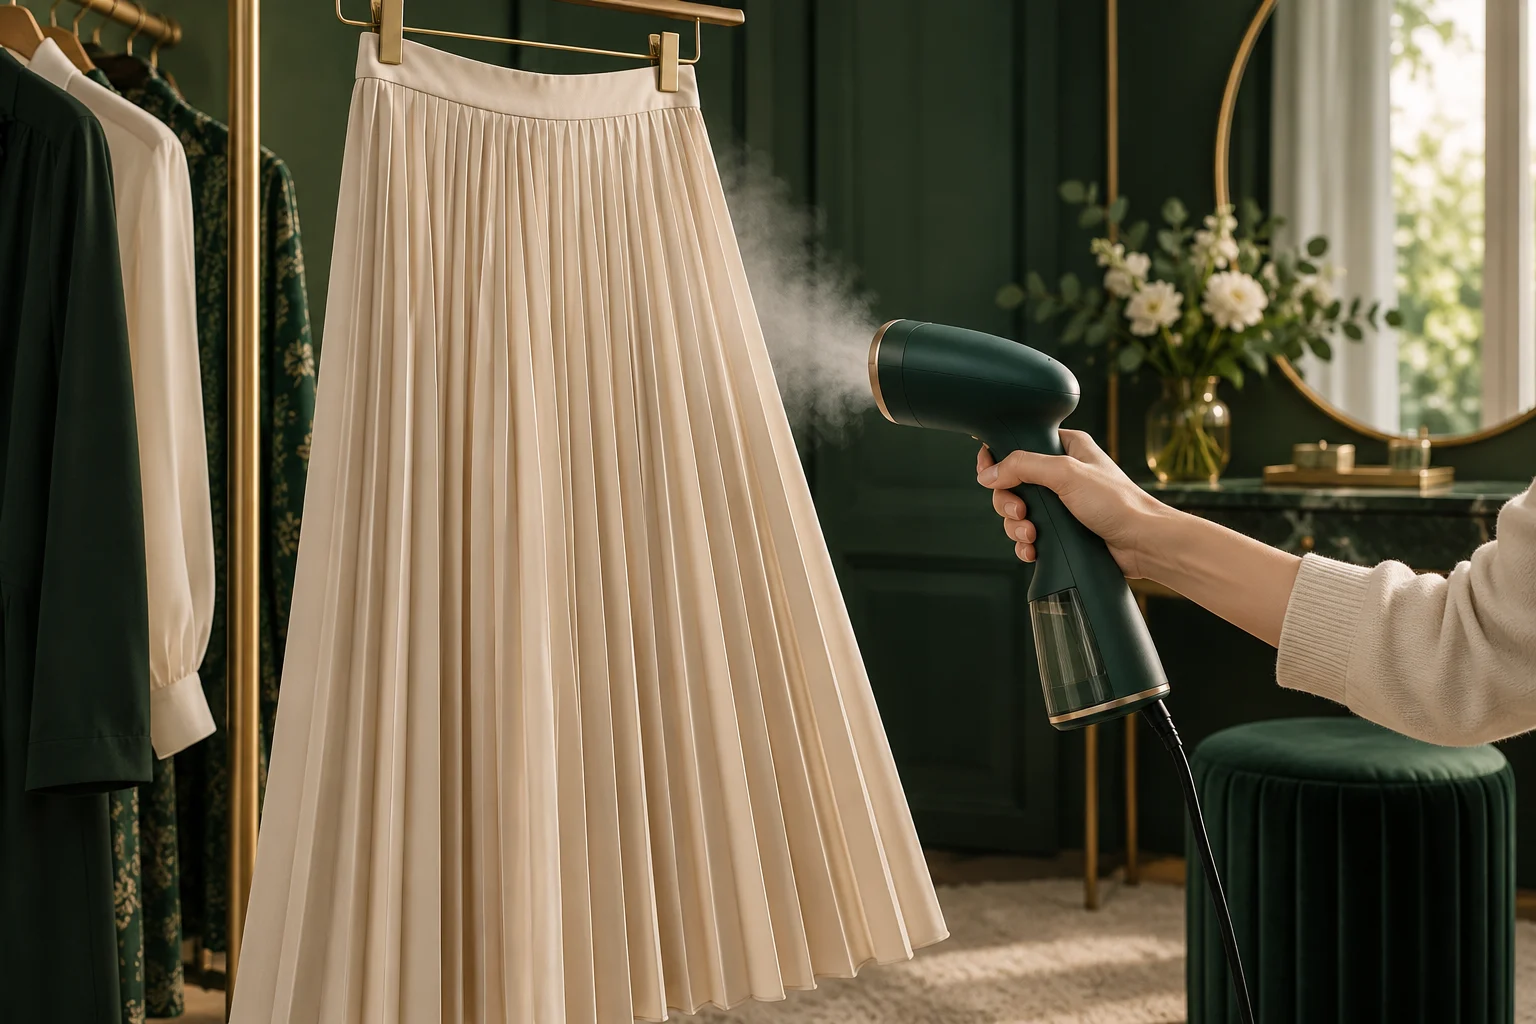
Pleats need vertical support, low-risk testing, and steam directed along the fold rather than across it. The care label and construction decide whether steaming is appropriate at all.
This guide was reviewed against current official product information where a model is discussed. Specifications and packages can change, so verify the exact label or manufacturer page before acting.
Read the care label first
Identify the fiber content, lining, trims, and cleaning instructions. Permanent pleats may be heat-set; sewn pleats rely on construction; delicate accordion pleats can distort with moisture and weight. A garment marked dry-clean only should go to a qualified cleaner unless the manufacturer gives specific home-care guidance. Do not infer safety from a similar skirt. Blends, coatings, metallic yarns, glued decorations, and unknown vintage fabrics can react differently to steam.
Test where change will not show
Fill and heat the steamer according to its manual, then test an inside hem or hidden seam. Hold the head at the recommended distance and use one short pass. Let the area cool and dry completely before judging color, shine, water spotting, shrinkage, puckering, or loss of pleat definition. A wet fabric can look temporarily stretched. If the test changes the finish or structure, stop. Do not correct the damage with higher heat or pressure.
Support the garment vertically
Use a sturdy hanger shaped for the garment and a stable hook that can carry the wet weight. Fasten waist closures and clips with padded jaws so they do not leave marks. Keep the hem free, but do not pull hard enough to stretch the fabric. Arrange each pleat in its natural direction with clean hands. Work in a ventilated area with the floor clear, the cord behind you, and no children or pets near hot steam.
Work from top to bottom
Begin near the waistband where the pleat is anchored and move downward with the fold. Short vertical passes encourage the existing line. Sweeping across several pleats can push them sideways and soften the structure. Keep the steamer head off the fabric unless the device and material explicitly allow contact. Use your free hand below and away from the steam path to guide the hem. Never place a hand behind the fabric as a backing surface.
Use less moisture than you think
Pleated fabric traps vapor between layers. Pause between passes and let moisture escape rather than repeatedly steaming a damp area. Excess water adds weight and can pull pleats out of shape while the garment hangs. If the steamer spits, stop, unplug, cool, and troubleshoot according to the manual. Do not compensate by pressing the hot head into the material. Distilled or tap water requirements vary, so follow the appliance instructions.
Treat the hem and lining separately
A lining may hang differently from the pleated shell. Steam it from an accessible side without forcing both layers together. At the hem, support the fold lightly and finish each pleat in the same direction. Avoid stretching bias-cut sections. If the garment has a pressed knife pleat, a steamer may relax wrinkles without recreating a lost crease. Restoring a collapsed pleat often requires controlled pressing equipment and a professional who understands the fabric.
Let the shape set
After steaming, leave the garment hanging with pleats aligned until it is fully cool and dry. Do not sit in it, fold it, or place it in a crowded closet immediately. Air movement helps, but direct high heat can change fibers. Once dry, inspect from a distance and correct only isolated wrinkles with another brief test. Repeatedly treating the entire garment increases risk. Store with enough space that neighboring clothes do not crush the folds.
Know when to stop
Stop for odor, dye transfer, shine, texture change, stretching, water marks, or weakening adhesive. Unplug if the hose, cord, tank, or head leaks. A pleated garment with sentimental value, unknown fiber, elaborate trim, or damaged folds deserves professional care. Steaming is maintenance, not reconstruction. The goal is to release incidental wrinkles while preserving the existing shape, and the safest result may be accepting a minor wrinkle rather than applying another wet, hot pass.
Quick checklist
- Confirm fiber and care instructions.
- Test a hidden area and let it dry.
- Hang pleats in their natural direction.
- Move vertically with each fold.
- Keep hands outside the steam path.
- Cool and dry completely before storage.
Why these checkpoints matter
- Confirm fiber and care instructions. This defines the starting condition and prevents the rest of the process from resting on an assumption.
- Test a hidden area and let it dry. This narrows the choice to evidence you can verify on the exact label, model, or scene.
- Hang pleats in their natural direction. This checkpoint reduces avoidable risk before another variable is introduced.
- Move vertically with each fold. This keeps the routine compatible with the person, product, material, or equipment involved.
- Keep hands outside the steam path. This creates a repeatable step instead of relying on memory or marketing language.
- Cool and dry completely before storage. This final review catches changes in condition, availability, or instructions before the next use.
Common questions
Can steam recreate a missing pleat?
Usually not reliably. Steam relaxes fibers; a crisp lost fold may require controlled pressing or professional re-pleating.
Should the steamer touch the fabric?
Only when both the steamer instructions and care label permit contact. Distance reduces heat, pressure, and water-mark risk.
Can pleated polyester be steamed?
Some polyester tolerates careful steam, but heat-set pleats and finishes vary. Follow the label and perform a hidden test.
Keep the decision useful
Write down the exact model, label, starting condition, and result. Change one variable at a time and return to the official instructions when anything is unclear. A short record makes the next decision easier and keeps an isolated result from becoming a rule that does not fit a different product, person, material, or environment.
Review the information again before repeating the process. Stop when comfort, safety, condition, or the manufacturer’s instructions provide a reason to stop. A useful routine stays simple because every step answers a real question.
For the next attempt, note what improved, what remained uncertain, and what should stay unchanged. This final check reduces guesswork and helps small problems become visible before they turn into repeated mistakes.
Keep the original instructions, model information, and observations together. Before repeating the process, confirm that the product, setting, environment, and intended result are still the same.
Use the result as one observation rather than a promise. Conditions change, and the safest next step is the one supported by the current label, manual, evidence, and the limits you can verify.