
Gleener Compact Fabric Shaver: A Care-First Buying Guide
A practical look at fabric compatibility, careful technique and the current Compact tool.
Reviewed and updated October 31, 2026
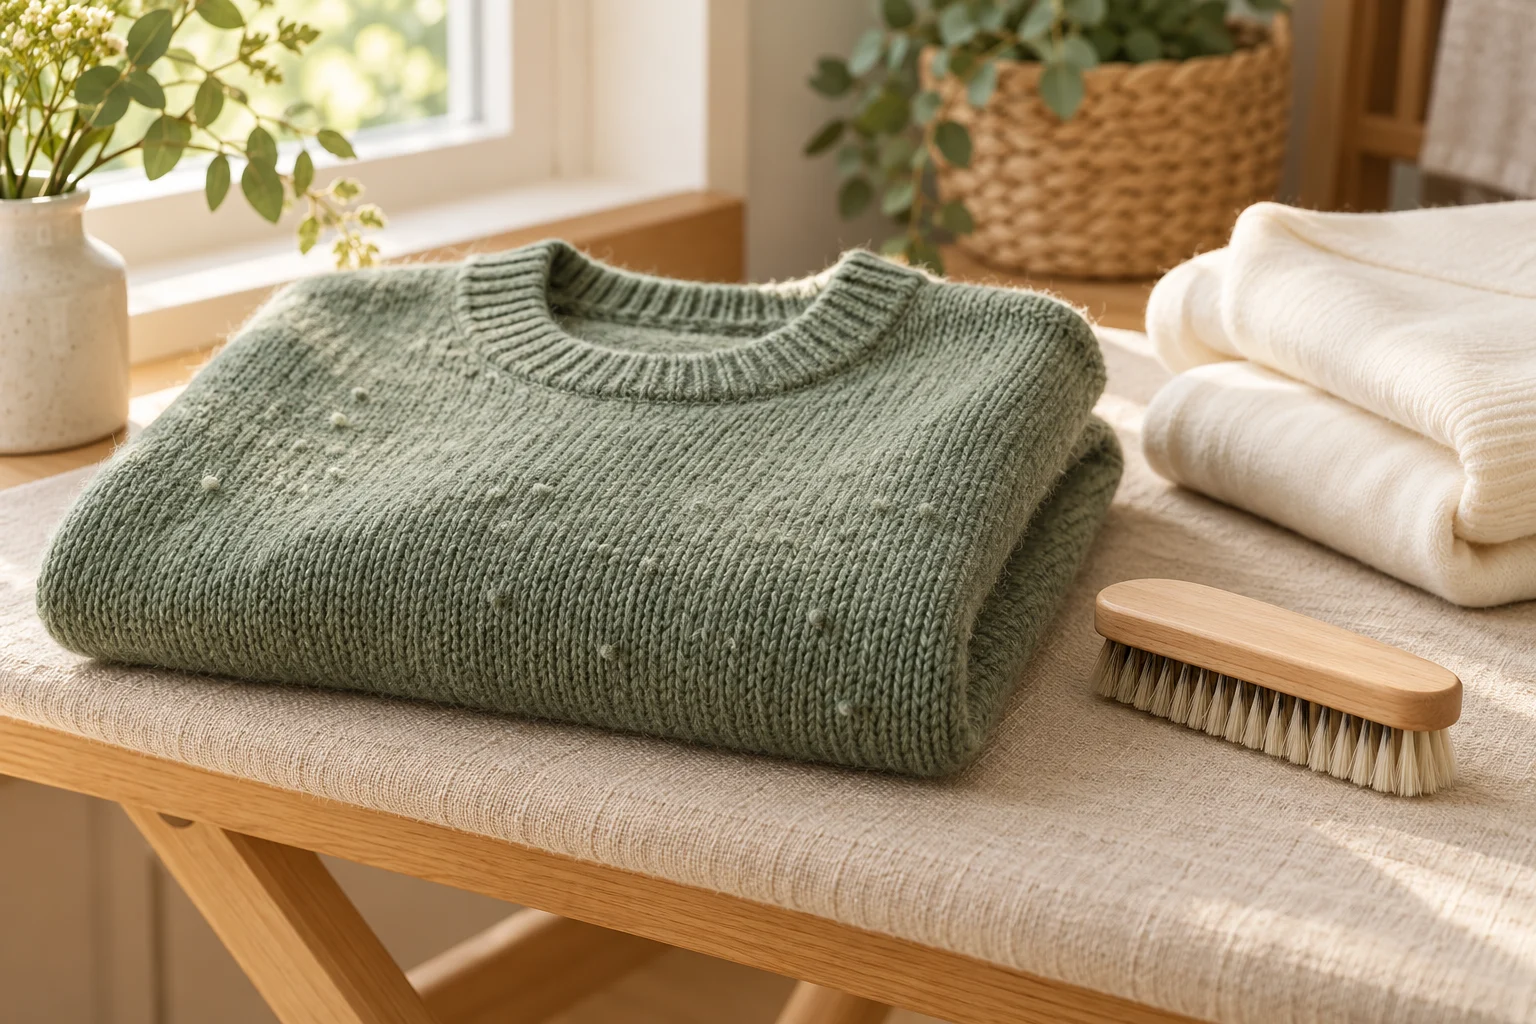
A compact manual fabric tool can be useful when you want to tidy a sweater without charging a device or setting up an electric shaver. The important question is whether its edges suit the fabric and whether you can use them with a light, controlled stroke. A smaller tool is convenient to pack, but size alone does not establish that it belongs on every garment.
Gleener currently calls this model the Compact 4-in-1 Battery-Free Fabric Shaver & Lint Brush. It combines three interchangeable edges with a lint brush and internal edge storage. This guide looks at the checks that matter before buying and using it, especially when you want a tool for a small wardrobe or travel bag.
GLEENER Compact 4-in-1 Battery-Free Fabric Shaver and Lint Brush
A compact manual fabric tool with three interchangeable edges, internal edge storage and a lint brush. Check the fabric exclusions and test a discreet area before use.
Decide whether you are dealing with lint or pills
Loose lint and attached pills are different problems. Lint may lift away with a brush, while a pill is a small tangle attached to the fabric surface. Identify what you are seeing before choosing an edge. Repeatedly scraping a garment that mainly has loose pet hair is unnecessary work and can make it harder to judge the fabric’s condition.
Check the care label and look closely at the surface in good light. Intentional texture, embroidery, loose threads, and worn areas should not be treated as ordinary pilling. If you are unsure whether a raised detail belongs to the design, compare an undamaged area or ask for professional advice. Preserving the garment matters more than making every surface perfectly smooth.
Understand the Compact format
The current Compact model keeps its interchangeable edges inside the tool. That is useful when storage space is limited and small components tend to disappear into a drawer. It remains a manual tool: your hand controls the motion and pressure. Do not expect the same handling as a motorized shaver just because both are marketed for fabric care.
Before ordering, compare the full model name and included pieces. Older Gleener products, replacement edge sets, and the larger tool may appear beside the Compact in search results. Confirm that you are looking at the complete current Compact tool and its specified components. A photograph of loose edges is not evidence that a handle or storage case is included.
Begin with the gentlest suitable edge
Gleener’s current directions recommend beginning with Edge 3 and progressing only if necessary. Test in an inconspicuous area first. The company also lists exclusions, including embellishments, intentional textures, very loose weaves, damaged fabrics, and some thin materials. Read those restrictions for your particular garment before making the first pass.
Choose a test area that represents the fabric without being prominent. A successful stroke on a thick seam does not establish suitability for a thin panel beside it. Examine the result from different angles, and stop if you see pulling, surface damage, or a change you did not intend. Do not increase pressure simply because a pill remains after one stroke.
Support the fabric rather than stretching it
Use the clean, hard, flat surface described in the product directions. Arrange the garment so the section you are treating lies smoothly and can be held steady. Avoid working over your knee, a cushion, or an uneven pile of laundry. A moving surface makes it difficult to control the stroke and judge how the edge meets the fabric.
Keep the working area small. Reposition the garment as you move instead of pulling a sleeve or shoulder across the table under tension. Take particular care around ribs, seams, buttons, and pockets. If the garment will not lie in a position that allows a controlled pass, pause and choose another approach rather than forcing the tool into the area.
Use short passes and inspect the result
Follow the maker’s direction of travel and use light, deliberate strokes. Clear away loosened material as you go so it does not obscure the surface. After a few passes, stop and look at the fabric without the tool in your hand. That simple pause helps prevent continuing automatically after the useful work is already done.
Do not aim to remove every tiny irregularity from a naturally textured knit. The goal is a tidier wearable surface, not a different fabric. Treat only areas that need attention and avoid making repeated full-garment passes as a routine. A tool that works well in moderation can still cause problems when used too aggressively.
Keep steaming and de-pilling separate
Pilling and wrinkles are not interchangeable. A steamer can help with some wrinkles when the care label permits, but it does not perform the same job as a fabric tool. Equally, dragging a fabric edge over a crease is not a substitute for suitable pressing. Choose the job first, then choose the method.
Our care-label guide is a useful starting point when several care tasks are needed. Let the garment return to the condition required by the fabric tool’s instructions before using it. Avoid treating a hot, damp, or awkwardly draped garment just because the steamer is already out.
Consider hand comfort and working time
A compact shape can be easy to store yet feel different from a larger handled tool during a long session. Think about how much fabric you expect to treat and how comfortable you are controlling a small grip. If you have hand discomfort or limited dexterity, consider whether the product is practical for you before buying.
You can also divide the work. Refreshing one small area when needed is more manageable than trying to process every sweater in a wardrobe at once. Put the garment down when your hand becomes tired. A slipping grip or rushed stroke is a useful signal that the session should end, even if another section could be treated later.
Pack the tool with its parts secured
Check that the edges are seated in their storage positions and that the tool is clean before putting it in a bag. Keep it away from garments where an exposed working edge could catch threads. Follow the tool’s storage directions rather than wrapping loose parts in a sweater and hoping they stay together during travel.
Keep the instructions accessible on your phone if you use the tool infrequently. For a broader comparison of approaches, our fabric-shaver buying guide explains how different tool types fit different care routines. The Compact should be selected for a clear use, not simply because it occupies less drawer space.
Match the purchase to the garment
The Gleener Compact is worth considering when you want a manual tool with contained edge storage and you have compatible fabrics that need occasional attention. Check the current instructions, included edges, and exact model before ordering. Leave delicate, damaged, or excluded materials out of the trial.
Once the tool arrives, begin with one suitable garment and a discreet test. Record which edge and technique worked so you can repeat the successful approach without escalating pressure next time. The most useful fabric-care purchase is one you can use carefully and consistently while keeping the garment’s original texture intact.