
How to Press Patch Pockets Without Shiny Edges
Practical guidance for caring for your clothes and equipment.
Reviewed and updated: October 30, 2026
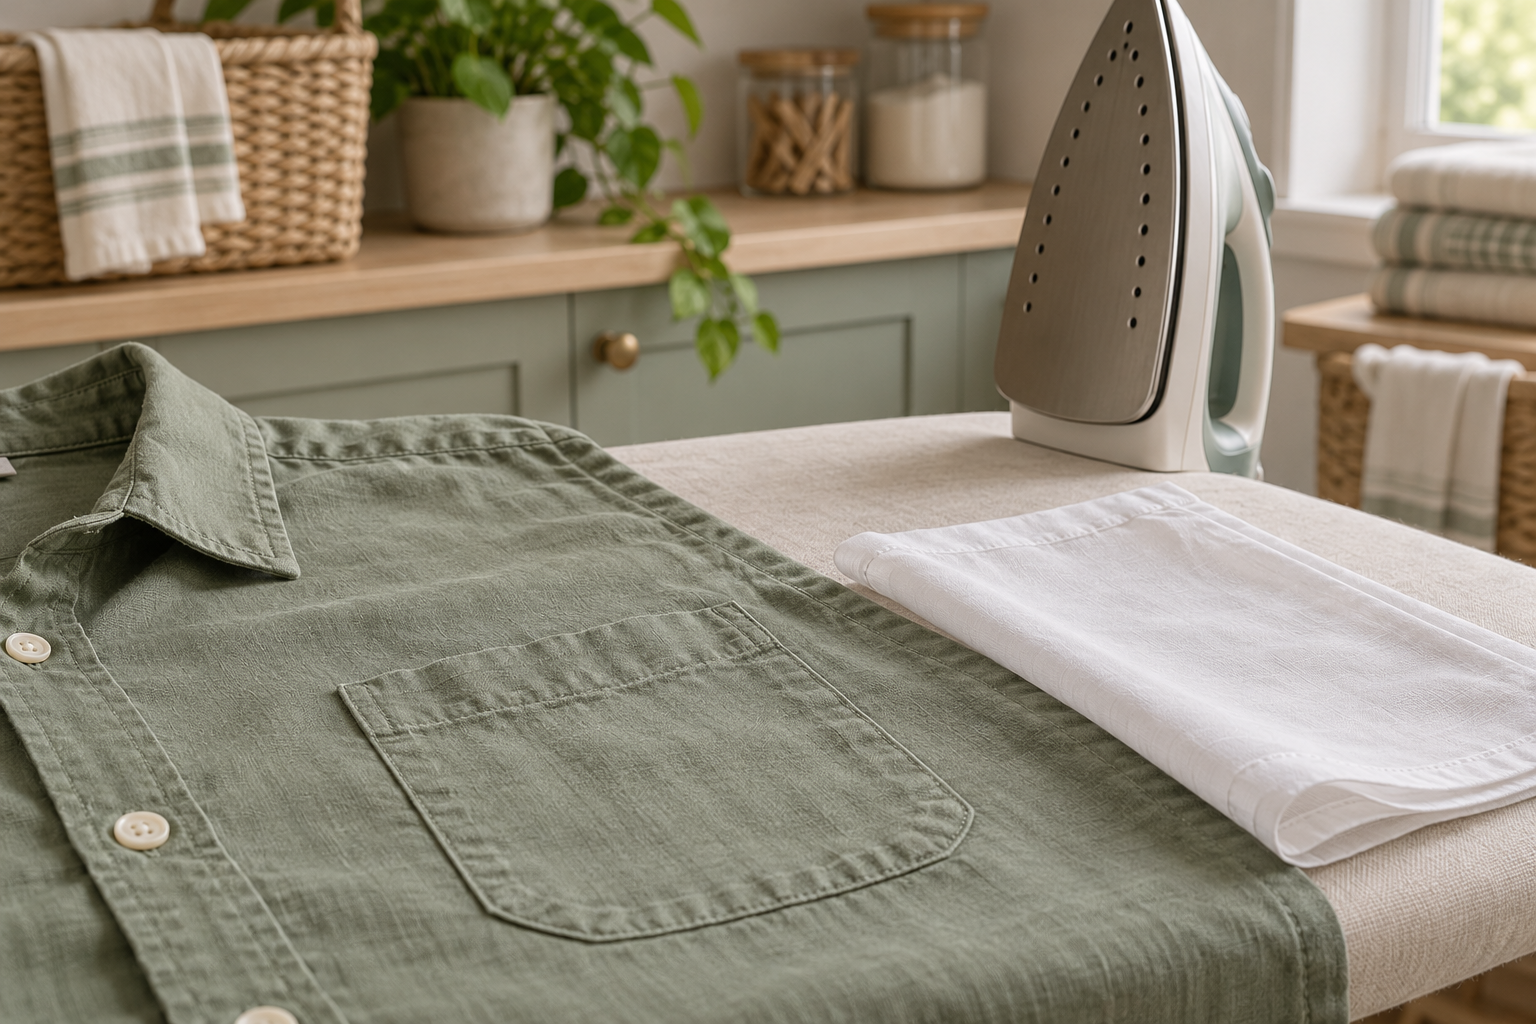
Patch pockets can make a neatly pressed shirt look unfinished when their edges show through, their corners curl, or the fabric develops a shiny outline. The pocket adds another layer, so pressing it like a flat piece of single-layer cloth can create an imprint. Start by identifying the garment’s care instructions and the pocket’s construction rather than reaching immediately for more heat or pressure.
This guide is for ordinary garments whose labels allow ironing. It is not a substitute for specialist care of delicate, coated, embellished, or unfamiliar materials. If the label prohibits ironing, or you cannot identify a safe method, do not experiment on a visible pocket. A professional cleaner or the garment maker’s care guidance is a better next step.
Read the label and inspect the pocket
Check the permitted ironing temperature and any restrictions on steam or direct contact. Read the label for the whole garment, including blends, linings, prints, and decorations. A pocket made from the same visible cloth may still contain reinforcement or stitching that reacts differently from the surrounding panel. Never choose an iron setting solely because the fabric looks like cotton.
Empty the pocket completely and inspect it in good light. Remove tissues, receipts, pins, and other loose items. Look for stains, adhesive residue, damaged seams, and already shiny areas. Heat can make some problems harder to address, so deal with cleaning and repair questions before pressing. Our guide to reading care labels explains why the label should control the method.
Prepare a smooth supporting surface
Use a stable ironing board or another surface approved for the iron and the task. The cover should be smooth, clean, dry as appropriate, and correctly fitted. A ridge in the cover or a lumpy pad can transfer its shape to the garment. Clear the area so the rest of the shirt will not pull the pocket panel off the board while you work.
Arrange the garment so only the intended layer is beneath the iron. Avoid trapping the back of a shirt under a front pocket, especially if buttons, seams, or folds lie underneath. Reposition the garment instead of trying to flatten several layers together. Keep cords and the unused fabric clear of the iron’s resting place and the floor.
Start with the surrounding panel
Smooth the cloth around the pocket gently with your hands while the iron is safely parked. Align the grain and the pocket opening without stretching the fabric or pulling the corners into a new shape. Press the surrounding panel in small sections using the label-appropriate method. Lift and reposition the iron rather than dragging the entire garment across the board.
Watch for the pocket edge becoming visible through the fabric. If an imprint begins to form, stop and reassess the layers and support beneath it. More pressure is unlikely to solve an imprint caused by an underlying edge. Let the section settle before deciding whether another pass is necessary, and avoid repeatedly heating the same area while trying to chase a barely visible line.
Use a pressing cloth when the method allows it
A suitable clean pressing cloth can reduce direct contact between the soleplate and the garment, but it does not make an otherwise prohibited temperature safe. Follow the garment and iron instructions. Test an appropriate method on an inconspicuous area first when the fabric permits testing, then inspect the result in the same light used to judge the pocket.
Keep the cloth smooth and free of seams, prints, or contamination that could transfer or leave a mark. Do not hide the whole pocket beneath a crumpled towel and assume the result will improve. You need enough visibility and control to position the iron accurately. Avoid additives, sprays, or homemade mixtures unless they are suitable for the garment and explicitly allowed by the relevant instructions.
Press the pocket face without crushing the edges
Work on a small area at a time, keeping the pocket flat in its existing shape. Use the minimum effective contact permitted by the label and the iron instructions. Do not push the iron hard over the stitched perimeter or leave its tip resting on a corner. Stop if you notice shine, sticking, an unusual odor, or a change in the finish.
Where the construction and care method allow it, access from the reverse can sometimes make the surrounding panel easier to manage. Be careful not to create a new outline from the pocket behind it. If a seam, reinforcement, or decorative element prevents a smooth approach, reposition the garment or leave that detail to professional care rather than forcing a flat result.
Treat pocket flaps and shaped details separately
A flap is another layer with its own fold and edges. Place it in the intended position before pressing, and avoid accidentally setting an extra crease through it. Check photographs of the garment’s original shape if you are unsure whether a fold is deliberate. A workwear pocket, a soft draped pocket, and a crisp dress-shirt pocket do not need identical treatment.
Do not use the hot iron to push buttons, snaps, zippers, or decorative hardware out of the way. Work around them as the instructions allow. Protect any detail that is vulnerable to heat, and do not assume that a pressing cloth provides sufficient protection for every trim. If the safe working area becomes too small to control, stop instead of balancing the soleplate on the edge of the detail.
Let the panel cool before judging it
Move the iron to its safe rest position and let the pressed section cool as appropriate before handling it extensively. Inspect the pocket from more than one angle. Shine and edge impressions can be less obvious when viewed straight on and more obvious under side lighting. Check the opening and corners as well as the broad center of the pocket.
If the result is acceptable, resist another unnecessary pass. If it is not, identify the cause before adding heat. A remaining crease, an underlying seam imprint, a stain, and a changed fabric finish are different problems. Do not promise yourself that steam will reverse damage already caused by heat or pressure; the next step may be professional advice rather than more pressing.
Store the garment without undoing the work
Let the garment finish cooling and drying as required before hanging or folding it. Choose a storage arrangement that does not crush the pocket against a hard edge or trap a fold across its face. Avoid overfilling the closet so tightly that freshly pressed panels become compressed immediately. For longer storage, see our guide to putting seasonal clothes away with fewer wrinkles.
A good pocket finish comes from controlling layers, respecting the fabric, and stopping when the shape is right. Keep the care label, a smooth support, accurate positioning, and a light, deliberate method at the center of the routine. The goal is a clean garment that retains its intended texture and construction, not a perfectly flat pocket achieved at the expense of the cloth.