
Brabantia PerfectFlow Size C Cover: A Fit and Replacement Guide
Compare practical features, fit and everyday use.
Reviewed and updated: October 30, 2026
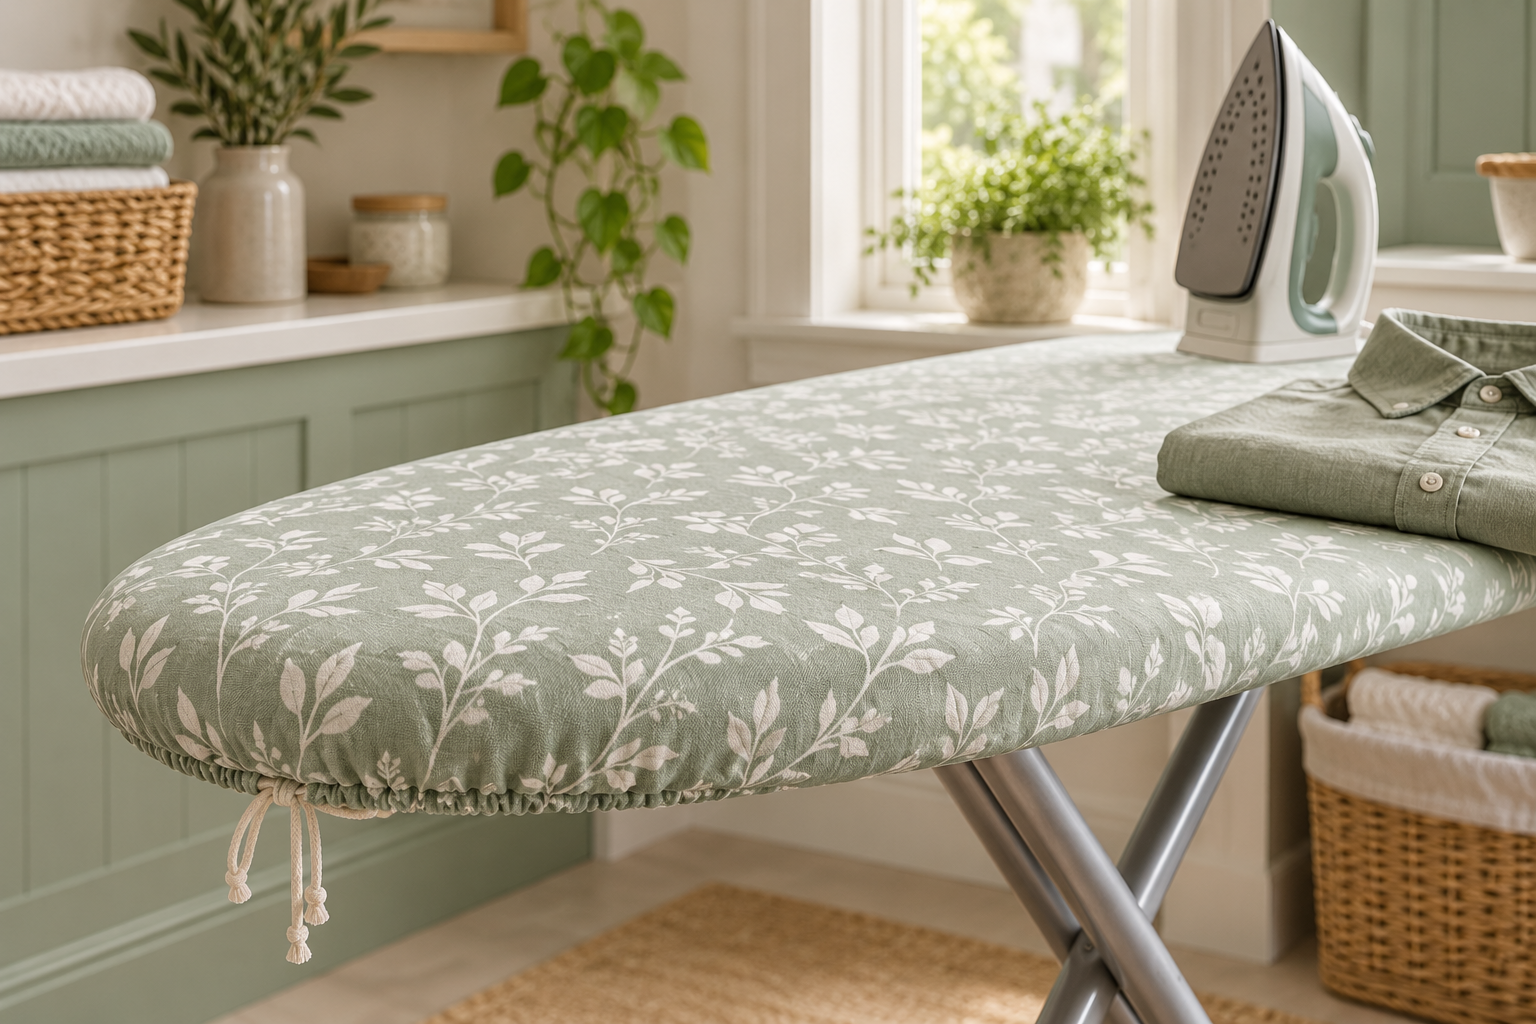
A replacement ironing-board cover can improve an otherwise serviceable setup, but only when it fits the board and suits the way you use steam. Brabantia’s PerfectFlow cover in size C is designed around a specific board size and a layered construction. It is worth comparing when the board frame is sound and the old cover has become loose, marked, or uncomfortable to iron on. It will not repair a rocking frame, damaged iron rest, or unstable locking mechanism.
Begin with a tape measure and the board’s model information rather than choosing a pattern first. This guide evaluates the current product description and fit requirements; it does not claim a hands-on comparison or promise that a new cover will make every garment easier to press.
Compare the options
Brabantia PerfectFlow Ironing Board Cover C 124 x 45 cm
A complete layered cover intended for the Brabantia size C board. Confirm the board dimensions, included layers, and fastening system before selecting a pattern.
Measure the board, not the old loose fabric
Measure the usable top from nose to end and across its widest point. Note the shape of the nose, any unusual taper, and the position of an iron rest. An old cover can stretch or shrink, so its loose dimensions may not describe the board beneath it. Check the board label or original instructions if available. Brabantia size letters are useful within the brand, but another manufacturer’s ‘large’ cover may mean something different. Write down both length and width before looking at listings. If the board has an unusual shape or fixed accessories, confirm compatibility directly rather than assuming a matching length will guarantee the right fit.
Understand what PerfectFlow size C describes
Brabantia lists the size C PerfectFlow complete cover for a 124 by 45 centimetre board, commonly described in the US as approximately 49 by 18 inches. The product uses a cotton top and additional layers intended to manage steam and condensation. Its fastening system includes a cord binder and stretch arrangement. These features describe a fitted replacement system, not a loose cloth that can be draped over any surface. Match the exact size and ‘complete cover’ description because top-layer-only products and other Brabantia sizes may appear in the same search. Pattern names can change while size compatibility remains the more important buying detail.
Decide whether you need a complete cover
Look at the existing padding as well as the visible top fabric. A fresh top layer over compressed, stained, or uneven padding may leave the original problem untouched. Conversely, adding thick layers without checking the manufacturer’s instructions can affect fit and steam behavior. The PerfectFlow complete-cover format is intended as a coordinated set, so do not automatically add a second old pad beneath it. Remove components only as directed for the exact board. If the top is rusty or rough, stop and assess the board itself. A cover should not hide structural damage, sharp metal edges, or a surface that could stain garments through the new fabric.
Inspect the board before fitting anything
Open the board on a level floor and check that its legs, lock, feet, and iron rest are secure. Keep the iron unplugged and fully cool while working on the cover. Look underneath for loose fixings, trapped fabric, or damaged mesh. Do not put fingers into moving joints while changing the board height. If the board wobbles, collapses unexpectedly, or has a broken locking part, follow the maker’s service guidance before using it again. Our compact ironing-board guide discusses the broader support and storage questions. Re-covering makes sense only when the platform remains suitable for safe use.
Fit from the rounded nose toward the wider end
Follow the instructions supplied with the exact cover and board. In general, a fitted cover needs even placement before its fastening system is tightened. Smooth the layers by hand while the board is cool and empty. Check that seams and edges sit where intended and that the cover is not twisted. Tighten using the specified system rather than adding improvised staples, pins, or cords near a hot iron. Keep fasteners clear of folding hardware. If you must pull aggressively to reach the far end, recheck the size and orientation. A cover that barely stretches over the top is not necessarily fitted correctly.
Check tension without crushing the padding
The surface should feel smooth and stable, with no large loose folds under the garment. It should also retain the intended cushioning. Excess tension can distort the cover or pull fasteners into an awkward position. Run a hand across the cool board to find ridges, overlapping folds, and bunching at the nose. Check underneath again before folding the board for storage. A drawcord or strap that hangs into a hinge can create trouble the next time the board opens. If the fabric continues to shift during light handling, revisit the installation instructions instead of trying to hold the garment and cover in place together while ironing.
Test with a suitable everyday garment
Choose a clean garment whose care label permits ironing and whose recommended setting you understand. Start with an unobtrusive area and use the correct temperature for that fabric. A new cover does not justify increasing the iron’s heat. Keep the iron moving as the garment instructions require and return it to the approved rest when pausing. Avoid testing on a valuable delicate item first. Check for transfer, damp patches, or unexpected marks after the initial use. If something seems wrong, unplug and allow the equipment to cool before investigating. Do not keep pressing in the hope that a problem will disappear as the cover ‘breaks in.’
Understand the limits of steam management
Layered construction can be useful, but no cover makes unrestricted steam appropriate for every garment or every board. Use steam according to the iron, board, cover, and fabric instructions. Moisture can still be a problem if you work too long on one area or store the board before it is dry. Leave suitable ventilation around the setup and protect nearby items from heat and moisture. Do not promise yourself a dry floor simply because a product description discusses condensation. Watch the actual conditions during use. A compatible cover supports the process; correct settings, a suitable garment, and sensible working time remain essential.
Clean according to the exact care information
Do not assume every layer can go into a washing machine together. Check the current product care label before washing, spot-cleaning, ironing the cover itself, or using stain removers. Aggressive bleach, solvents, and high drying heat can affect materials and fit. Let the cover dry fully before the board is folded away. Keep lint and loose threads away from fastening hardware. If a mark transfers onto a test cloth or the cover develops a damaged area, stop using it until the cause is resolved. Washing guidance for an ordinary cotton shirt does not automatically apply to a multilayer ironing-board cover.
Make the purchase around fit and replacement value
Compare the precise size C complete-cover listing, pattern, fastening details, and included layers. Confirm that the product is the cover rather than a whole ironing board, and that a similarly named size B or D has not been selected. Consider whether replacing the cover will extend the useful life of a board that is already stable and easy to store. If the frame also needs major work, compare the total effort before buying accessories. The practical result should be a smooth compatible surface, clear fastening hardware, and a setup you can use and dry properly. Attractive fabric is a bonus after those requirements are met.