
As an Amazon Associate we earn from qualifying purchases.
Save time, do it right, look great
Few things detract from a positive first impression quicker than a creased jumper. Perhaps you have bad breath—a shaky handshake. Remains of the morning’s meal are hidden in your beard. That is the size we are discussing. And if you’re out of the public with your unironed eyesore, there’s nothing you can do but mask it.
Shirts are an essential part of any man’s wardrobe; you need them for work, play, and any other occasion that does not require swim trunks. As a result, the best way to do them justice is to follow a proper ironing regimen. And, for example, if you don’t iron your work shirts, you may as well be wearing the onesie you sweated your hangover into on Sunday. If your shirt is a crumpled mess, no matter how fine the rest of your wardrobe is, the impression you send is the same.
However, ironing isn’t just as easy as your mother made it seem. It’s a case of practice makes better, and there’s a lot to think about if you want to do the job right (and get it done in under 45 minutes). So, to save yourself time, effort, and humiliation, here’s how to iron your shirt like a pro.
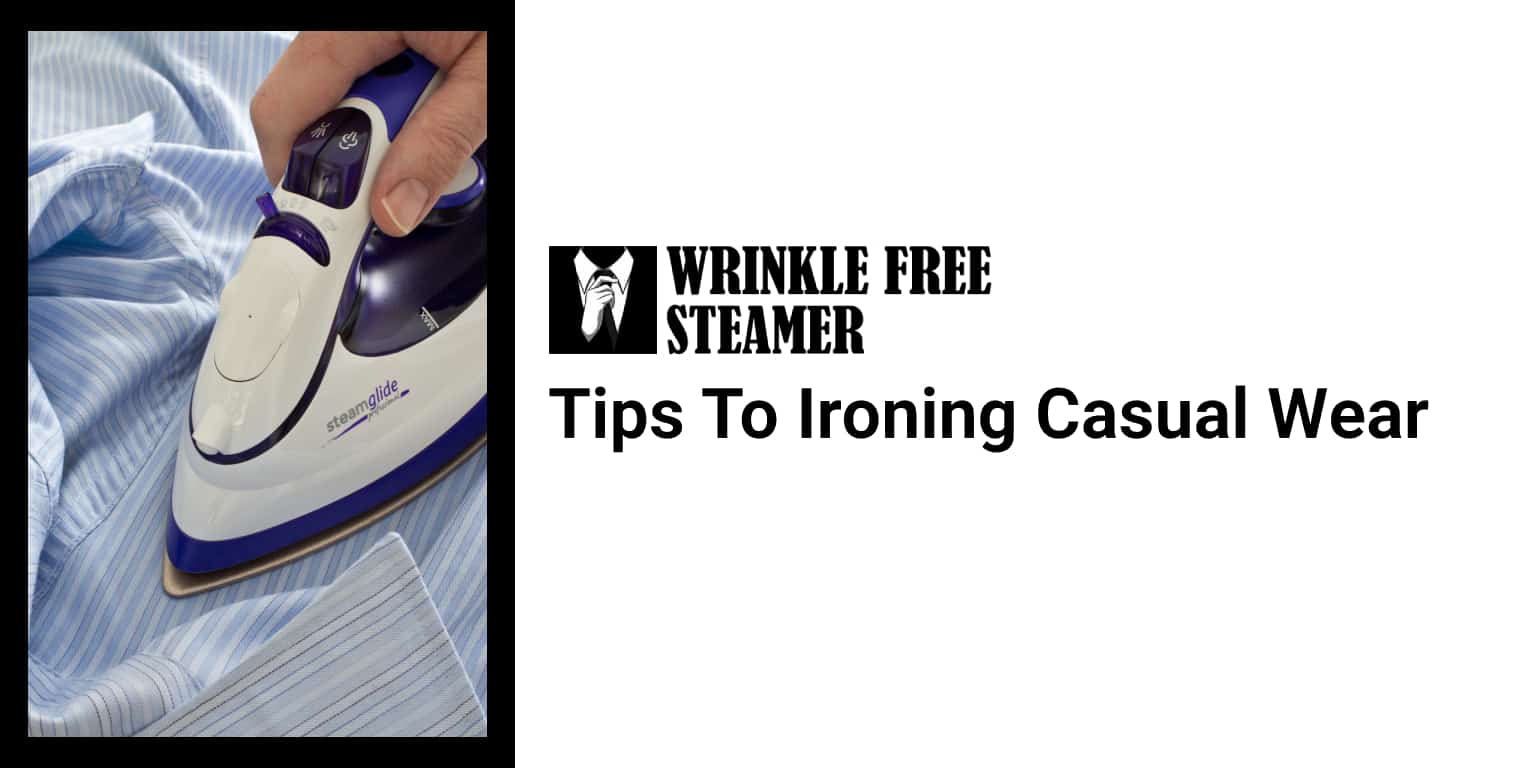
Purchasing an Iron
It’s not as easy as it sounds – there’s a lot to consider while purchasing an iron. It all depends on the fabrics you’ll be ironing, how much you’ll do it, and the size of your ironing pile.
The most common form of iron is steam iron. When ironing, they use steam to moisten and loosen the cloth fibers, making it easier for the iron to clear any creases. As a general rule, more vigorous irons would produce more steam.
You’ll need an iron with a sturdy soleplate – the iron’s face in layman’s words. To make matters more complicated, there are five different kinds of noses. First, there are aluminum ears, which heat up quickly but scratch easily. Then there’s nonstick, palladium, and stainless steel, which would both float more effortlessly over the clothes. The final material is ceramic, which glides and distributes heat well and is very durable.
It is best to choose a middle-of-the-road iron because price does not always represent quality above a certain point. It’s also a good idea to go against the grain and buy your iron in person rather than online. Do your homework online first, so make sure the iron fits appropriately in your hand and that you’re comfortable with its weight, as well as get a sense of how usable and straightforward the controls are.
And, of course, you’ll need an OK, sturdy, well-padded ironing board to go along with your iron.
Making Use of the Iron
Using fabric conditioner when washing your shirt to make it easy to iron and enhance its overall look before you even get to the ironing point.
Your iron can come with a variety of settings for various types of materials. And there’s no doubt that the shirts in your closet would need different configurations. The first thing you can do is look for directions on your shirt’s care sticker. However, as a general rule, separate the shirts into linen, cotton, and synthetics. By staring at the sticker, you’ll be able to tell what type the sweater is made of. This way, you can progressively increase the settings based on which materials need more heat without having to wait for the iron to cool down in between.
Cotton Shirt Ironing
Iron the cotton shirt slightly wet on the hand you’re ironing with a hot iron. To prevent destroying the material, iron lengthwise rather than in circular motions.
Ironing all sides of a heavier cloth (such as an Oxford shirt) produces the best effects.
Cotton-Blend Shirt Ironing
For cotton-blend tops, use low heat and steam. To avoid scorch marks, iron it inside-out or put a thin fabric between the shirt and the iron.
Using an Iron to Iron Polyester Shirts
Since polyester is a highly heat-sensitive substance, use a handkerchief or anything similar to prevent any iron-to-shirt touch here. If you’re reading this, Peter Stringfellow, you should know that the same goes for your silk and satin gowns.
Linen Shirt Ironing
Use a heated iron and mist the hand you’re ironing. Wet the opposite side of the side you’re ironing first, then the side you’re ironing.
To prevent a shine caused by the sun, iron these shirts inside out, mainly if they are a darker color.
What Is the Best Way to Iron a Shirt?
Spray the shirt liberally with a glass, mister, or the iron’s spray mechanism. How liberally you apply, depends on how often you want to wear the shirt after ironing it – but the damper it is, the easier it is to iron the creases out.
Unbutton all of the buttons, including the cuffs, and then iron the shirt quickly and thoroughly.
The collar: open it flat and remember to iron all sides, working inwards from the outside. Open back, press the fold, then iron once more to keep it crisp.
Cuffs: open them up and iron the inside first to remove any creases or folds, much like the collar. Act from the outside in once more.
The yoke is the upper part of the back and shoulders. Start on one side and work your way to the middle, then flip the shirt over on the board and repeat on the other side.
Back: Finish the remainder of the back, dampening the shirt to remove any persistent creases.
Iron the placket (where the buttons and buttonholes are located) first, pinching and pushing the end to make the job smoother. To get between the keys, use the pointy end of the iron. Then iron the remainder of the front.
Iron both sides of the sleeve, pushing lightly from one end to ensure they’re taut and crisp, making sure the fold is at the seam.
The key is to keep the iron going at all times and avoid burning something – all while ironing out creases and not adding new ones. Pull the shirt lightly as you go, but not so much the creases form. This is something that needs a lot of preparation.
The last, but definitely not least significant, move is to hang your shirt immediately afterward. This is particularly important if you get a little steamy and the sweater is already wet.
Tips & Tricks for Ironing
They are using a starch spray to have a dry, clean finish on your shirt with a military finish. They’re easy to find in the store and will come with directions for how to use them.
If the pointy end of the ironing board is uncomfortable, turn it over and use the squared-off tip of the other side. This allows you to iron more stuff in a single pass without having to move the shirt.
When appropriate, iron your shirt inside out. It takes a little more work, but it will be worth it any time you stop damaging your clothes with a huge iron label. It’s never a good look.
Ironing pins, zips, or any other stiff substance is not recommended.
If you’re in a hurry and need a smooth-looking formal shirt right away, iron just the neck, sleeves, and cuffs – just keep in mind that you won’t be able to remove your jacket.
Cold feet are as much a part of winter as early nights and intoxicated Decembers. The sneakers you wear the majority of the year – perforated trainers that let the cold in and low-rise shoes that let the moisture in – won’t make it in the rain. You’ll need more than one pair of winter boots, preferably two or three.
This is footwear that was initially built for wood yards, hiking trails, and war trenches, so you can trust it to get you through a slightly chilly commute. In terms of appearance, the proper winter boots are as attractive as they are functional.
Fashion is now obsessed with specialized footwear of all sorts (hiking design and workwear are perennial trends), but it has always been happy to fitting boots – from veterans, mountaineers, runners, and blue-collar jobs. Those boots have the qualities that all shoes should have: reliability, utility, comfort, and weatherproofing.
Winter boots, despite their chunky soles and unforgiving leathers, are some of the most versatile shoes you can find. If you invest in the right couple, they will survive for decades if you care for them as much as they care about you. So, put the best foot forward. Find the right look for you below, along with the best ways to wear it.