

As an Amazon Associate we earn from qualifying purchases.
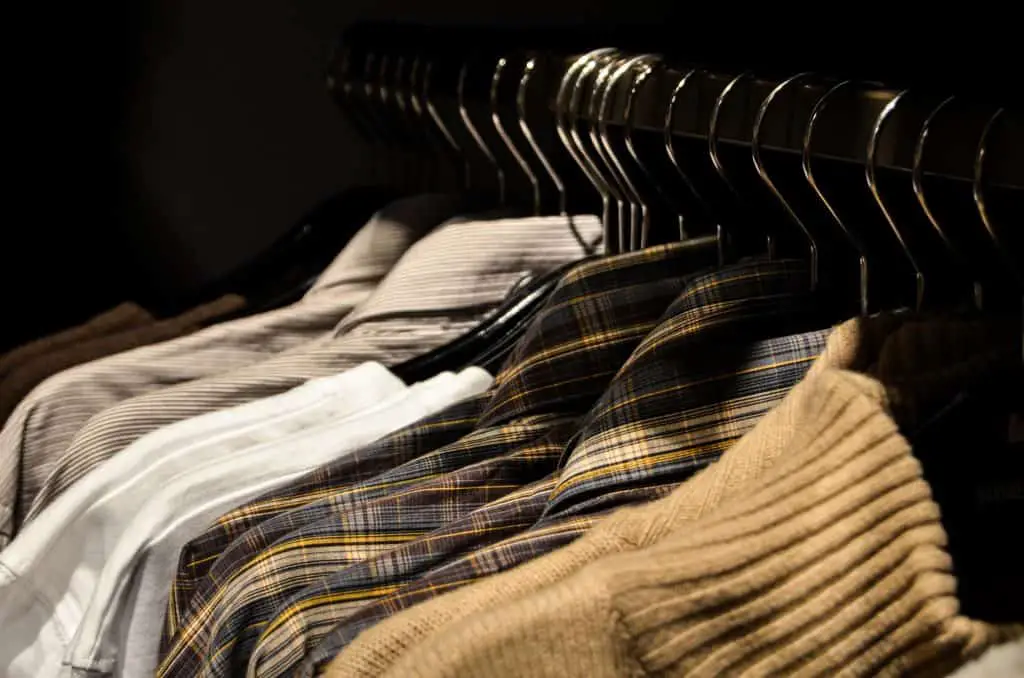
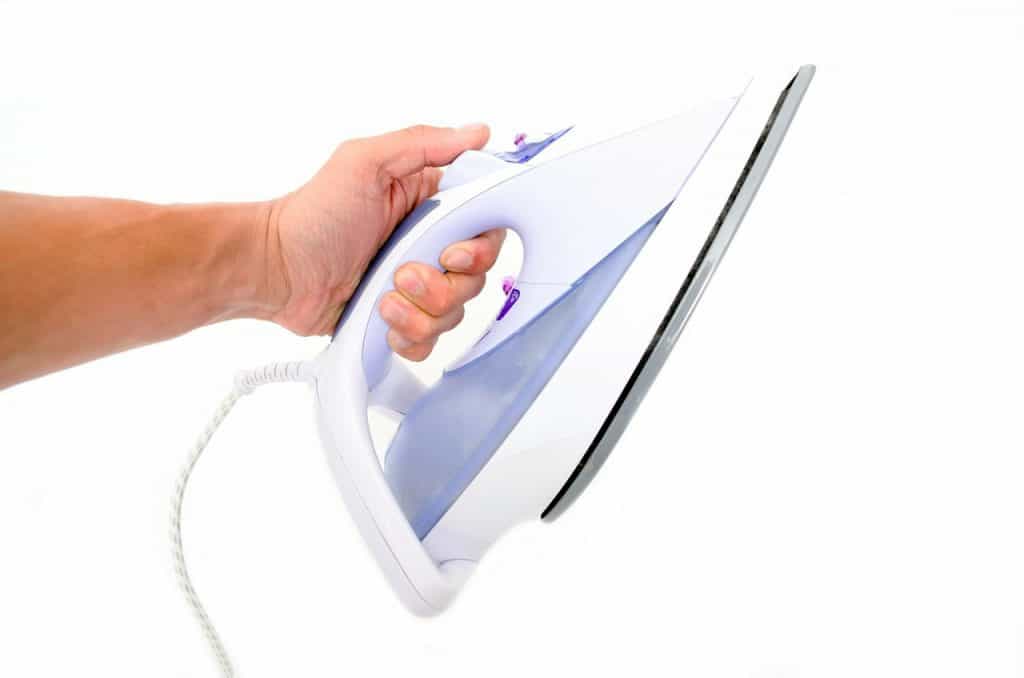
Ironing clothes is not a difficult thing to do. In fact, when you know how to iron clothes properly, then it is an easy task to take on. There can be a learning curve in knowing how to iron certain types of clothes. However, once you learn the basics, it is easy to zoom through your ironing with confidence.
Quick Navigation
Types of Irons
When you are looking to purchase an iron, there are a few different types available. You should consider the different options to see what will meet your ironing needs.
Steam Iron
This is one of the most common irons around. Inside of this iron is a tank for water. Once it is filled and the iron is turned on, the water will heat up and produce steam. The steam helps the ironing process go more smoothly and keeps the fabric moist while the heat is pressing it down.
[easyazon_image align=”center” height=”500″ identifier=”B00X5ILD0K” locale=”US” src=”https://wrinklefreesteamer.com/wp-content/uploads/2018/02/41vao42BukEL.jpg” tag=”wfsteamer08-20″ width=”500″]
Steam irons also offer a steam burst button that releases steam before you press over hard-to-iron areas. These irons also can feature an automatic shut-off and some have retractable cords to make your life easier.
If you are looking for the best steam iron for shirts, then the BLACK+DECKER Professional Steam Iron ranks high for its ability to iron and it’s affordable cost.
Vertical Steam Iron
There are also handheld vertical steam irons you can use to steam your clothes. This works by hanging up your clothes and running a vacuum-like handheld attachment over them.
The steam flows out of the attachment to moisten the clothes while the shirt being hung helps pull out the wrinkles. This is a great ease-of-use iron for any home or business. You just need to make sure you do not over steam your clothes. That could lead to wrinkles and they would then need to be pressed.
A great hand held steam iron for shirts is the [easyazon_link identifier=”B00I9KW5WO” locale=”US” tag=”wfsteamer08-20″]Epica Handheld Steamer[/easyazon_link]. While this is not a great option if you have a lot of clothes to steam iron, it is a perfect starter hand steamer for people who can get their steam ironing done in twelve minutes or less.
[easyazon_image align=”center” height=”500″ identifier=”B00I9KW5WO” locale=”US” src=”https://wrinklefreesteamer.com/wp-content/uploads/2018/02/31nJkEhGZ9L-1.jpg” tag=”wfsteamer08-20″ width=”391″]
There are also deluxe clothes irons that can run upwards of $100. These are good options if you are dealing with heavy duty fabrics or do a lot of sewing.
If you need an iron for on the go, then consider a handheld steamer instead. Made for travel, this device is virtually the same thing as a vertical steam iron, but is portable and compact, able to travel with you on the go.
Things to Know Before you Iron
To begin, make sure that your clothes are clean. Ironing dirty clothes, or clothes that have stains can make the stains set into the fabric permanently. You can use a steam cleaner for a quick and easy clean.
Also, you will need to own an ironing board. Using another surface is not an option because the heat can damage surfaces. If you don’t own an ironing board, then you can pick one up from a local big box store.
Another thing to keep in mind before you begin is to read the clothes label. It will advise you on the temperature you use. While this can sound like a lot when you are learning how to use steam iron, it is something you will pick up and learn quickly.
The best thing to do is to start with the garments that need a lower heat setting and then gradually build up to the ones that require higher heat settings. It is easier to warm an iron up more instead of waiting for it to cool down.
There are also clothes that require you to iron them inside out so you do not damage the fabric or because the fabric is so thick. Again, reading the tags on your clothing will help tremendously when you are learning how to iron.
When you are laying out your clothes, open up the button on the cuffs, so you can iron inside of this wrinkle prone area. You will also lift and open up the collar to iron, and then fold it back down when hanging.
Finally, you should always iron your clothes lengthwise. Unlike the garment steamer which you can use on any part of the shirt, the iron follows the natural guidance of the fabric. It also prevents your clothes from stretching, as if you were to iron side to side.
How to Iron Clothes
How to Iron Shirts
When you are learning how to iron clothes, it is best to take your time and go slow. However, do not go too slow because leaving an iron on your clothes for more than a few seconds can burn or damage them.
While this can sound scary, it is not something that will happen often, unless you become distracted or walk away from the iron while it is on your clothes. It is not difficult to learn how to use a steam iron. Just follow a few steps.
Iron the Sleeves
- Open the shirt and lay it on the ironing table.
- Begin with the arms. They can easily hang off the sides of the table while you are ironing the body without any risk for wrinkles.
- Lay the sleeve flat and align the seams. Start at the shoulder and work your way down to the cuff.
- Make sure the cuff is unbuttoned and iron the inside first. Then press it down and iron the outside.
- Finally flip it over and iron the other side, using the same steps as you did the first side.
- Repeat with the second sleeve.
Iron the Body of the Shirt
- Start with the collar and iron it wrong side out and then flip it to iron it right side out.
- Keep the neck of the shirt on the narrow end of the board and begin to iron the body of the shirt.
- Iron the front and back of the shirt, going in lengthwise strokes. Adjust and move the shirt on the ironing board as you do.
- Finally, iron around the buttons. Make sure to be careful and use the narrow part of the iron to slowly work around them. Do not iron on top of the buttons as this will damage, break, or melt them.
Unlike the garment steamer that will only take you less than a minute, a an iron from start to finish, should take about three minutes to iron a shirt. When you are starting out it may take a little longer. But, as you continue to learn how to iron, you will figure out a rhythm.
How to Iron Pleated Clothes
Learning how to iron pleated pants and other items can be challenging. However, once you get the hang of it you will become a pro in no time.
For ironing pleated pants, you will want to turn the pants inside out and lay them flat on the board. Start with the pockets and iron the back and then the front ones. You can use spray starch to make sure the pockets and later the pleats hold their shape.
Turn the pants right side out and iron the waistband. You can easily find the pleats by pinching the top of the pleat and gently pulling the pant leg until you see the full pleat appear. If you need extra guidance, you can pin the pleats in place.
Finally, iron the pleat from the top to the bottom. Make sure you know where the pleat ends so you do not create a longer pleat than originally intended.
If you are learning how to iron a pleated skirt, it is the same scenario. You will want to slip the skirt’s waistband around the narrow part of the ironing board.
Begin by ironing the waistband and then work down to the pleats one by one. You can turn the skirt on the ironing board as needed. It is recommended to use starch for your pleated skirts, so they hold the pleat after it has been pressed The ability to straighten clothes creating crisp lines is a point that the old iron definitely has over the regular portable steamer.
Learning how to iron pleated clothes can be a difficult task at first. But, once you have done it a few times it will become easier to remember the steps and locate the pleats.
Make Ironing Fun
While learning the basics of how to iron, it doesn’t have to be a dull and boring task. Of course, you should give it your undivided attention the first few times you iron on your own. However, once you get the hang of it you can add fun elements.
Turn on the TV and watch your favorite show, or play some good music to give you an ironing groove. If you have little ones who are under your feet or making it harder for you to focus on ironing, then give them tasks to help.
Kids can sort clothes, fold clothes, bring you racks, help hang, and even take newly pressed clothes into the closet for storing. The bottom line is, while ironing gets the bad rep of being a tedious job, it is up to you to make it a fun chore.